So, the problem with testing deployment automation scripts is that you need somewhere to deploy to. There are a lot of things that need to be setup and running before you can send code to production. Production needs to exist. More than likely you don't have a production environment set up.
So, we're going to get you setup here with a virtual machine that you can deploy and test with. This would actually be a great staging environment for your projects. Bear with us...this could take a bit.
The first thing we need to do is download and install VirtualBox.
You'll also want to download a Linux Image. You'll want to download the latest Ubuntu Server version. As of this writing, Ubuntu Server 20.04.01 LTS is the most recent version.
After you've installed VirtualBox and downloaded Ubuntu Linux, follow the below instructions to get a base machine running.
Preparing VirtualBox
When you open VirtualBox, you'll see this inteface:
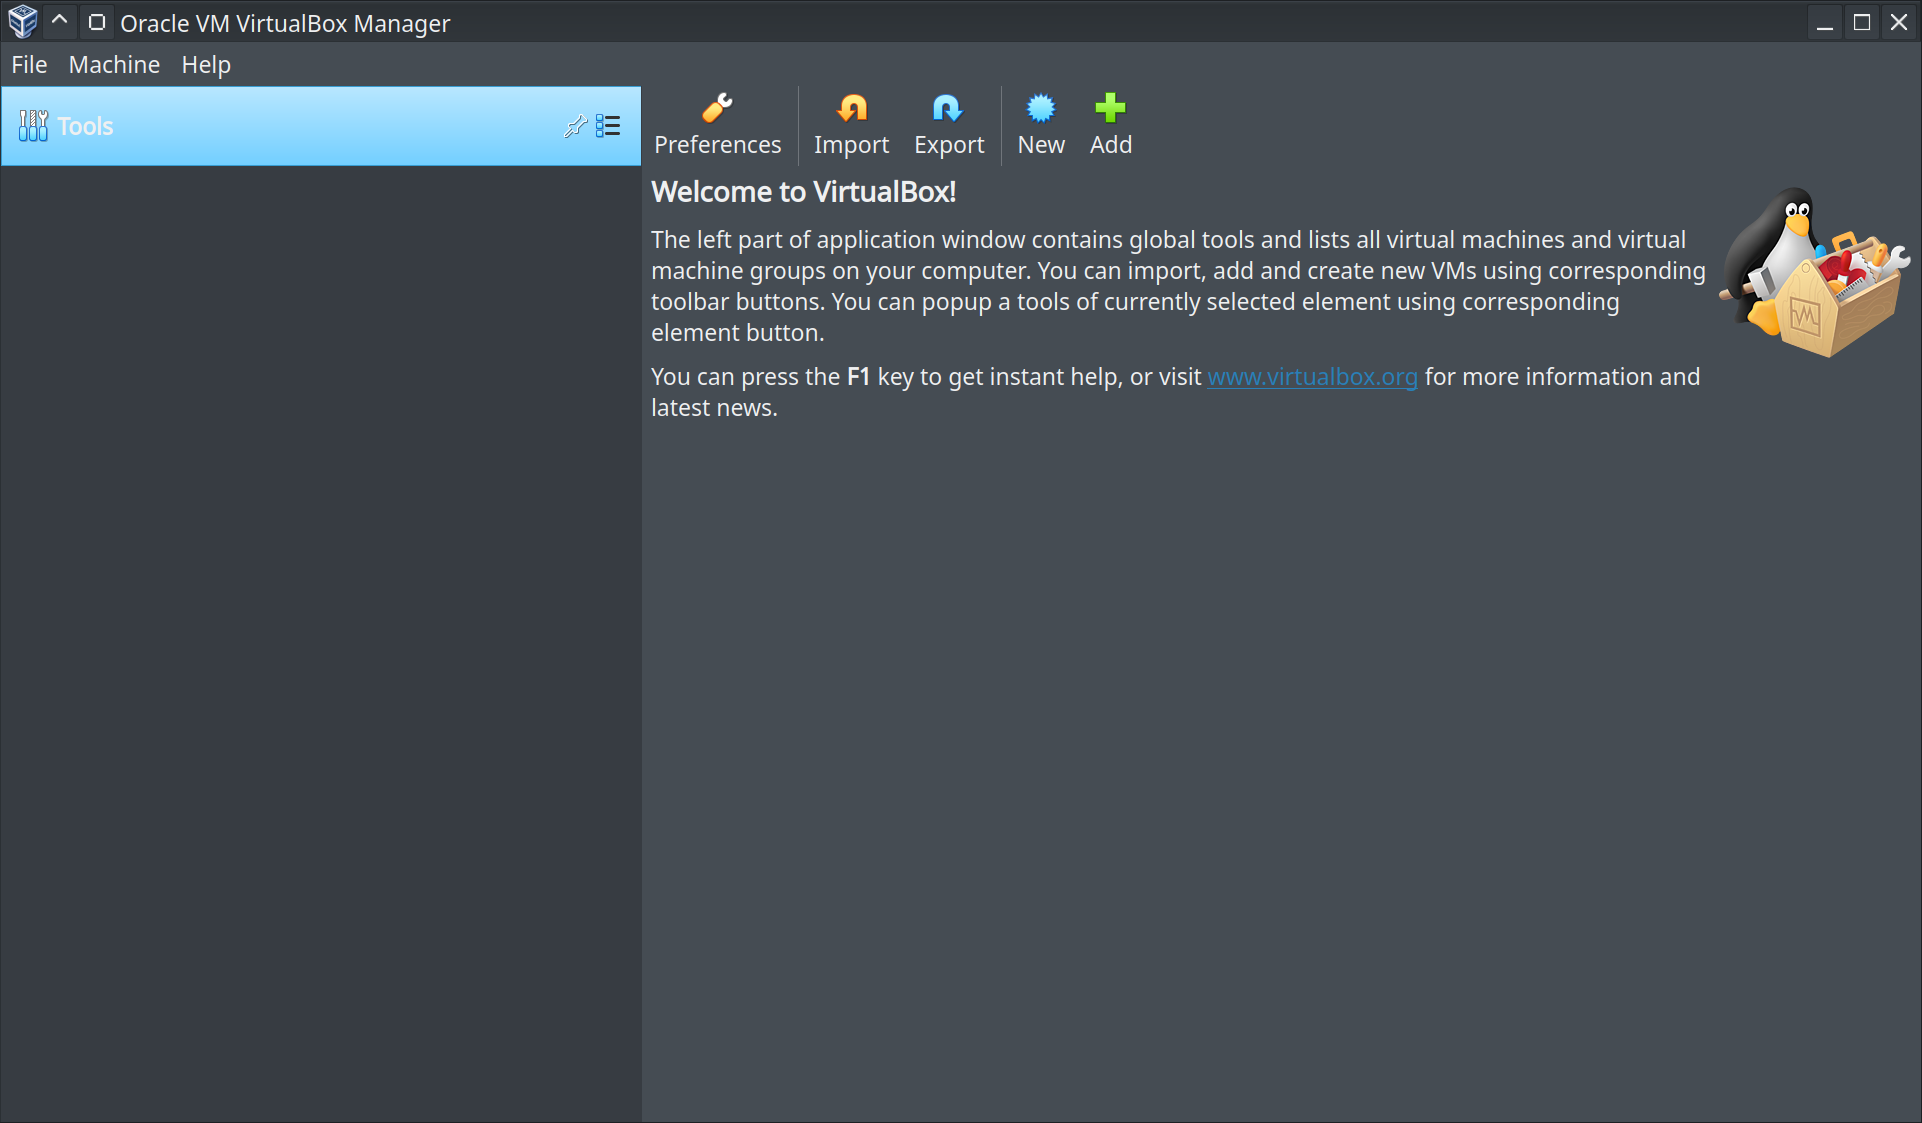
Click New:

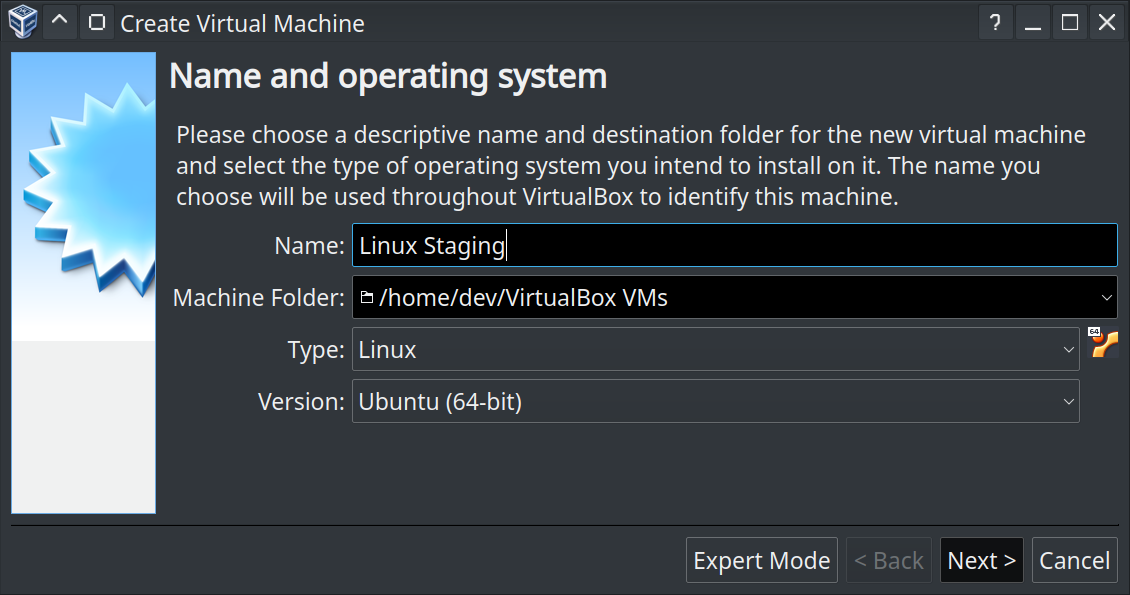
Name your virtual machine with a name that makes it apparent what that machine does. Also, change the type to Linux and the version to (Ubuntu 64-bit)
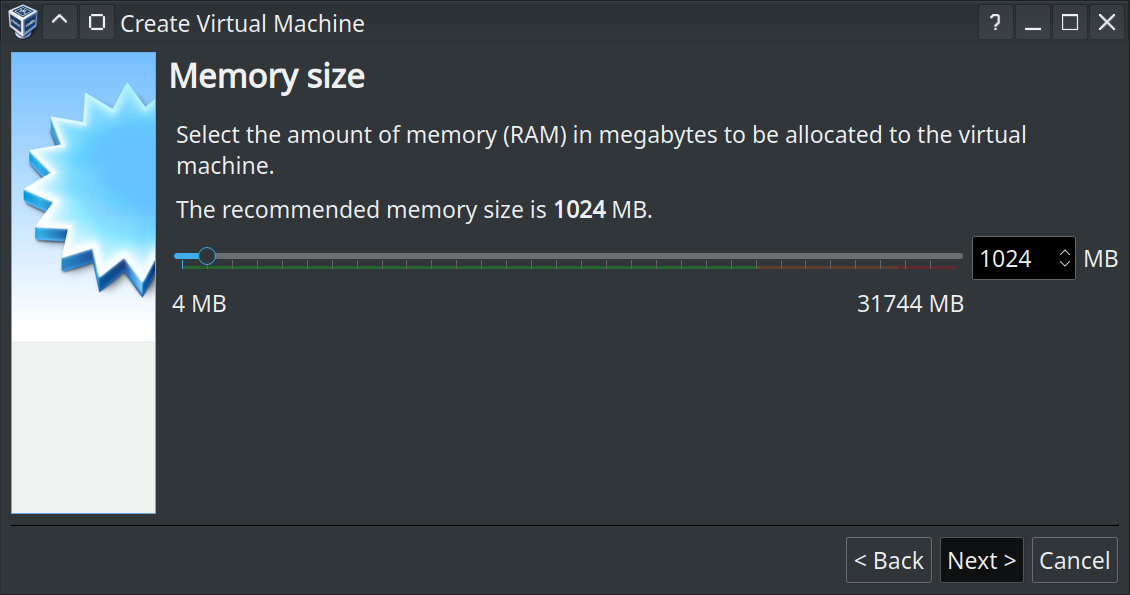
The default 1GB of RAM is fine.
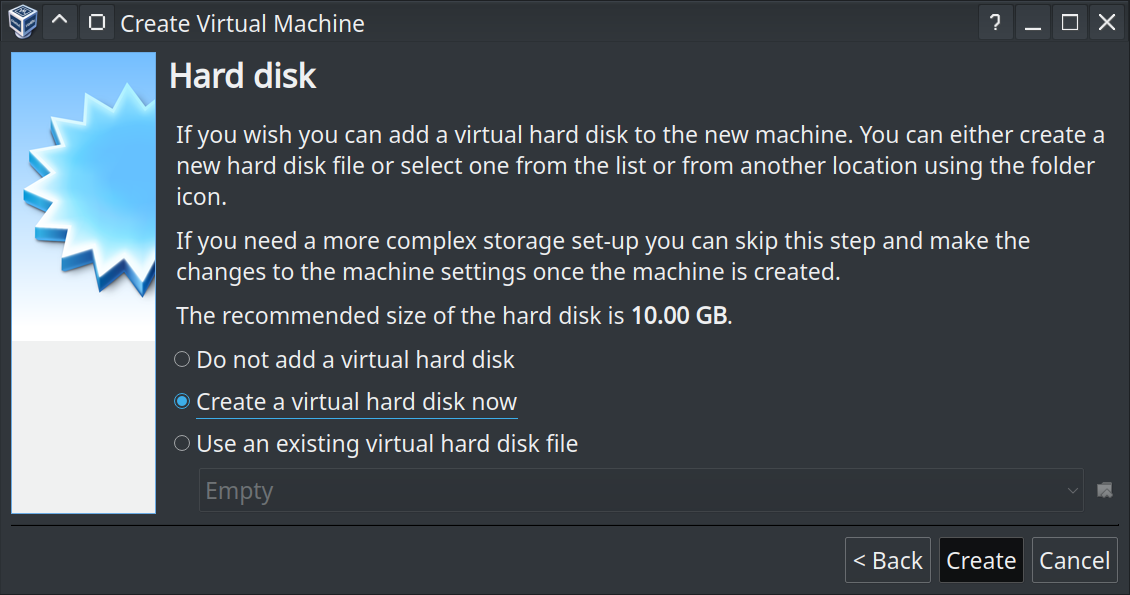
Select Create a virtual hard disk now.
The file type as VDI is fine.
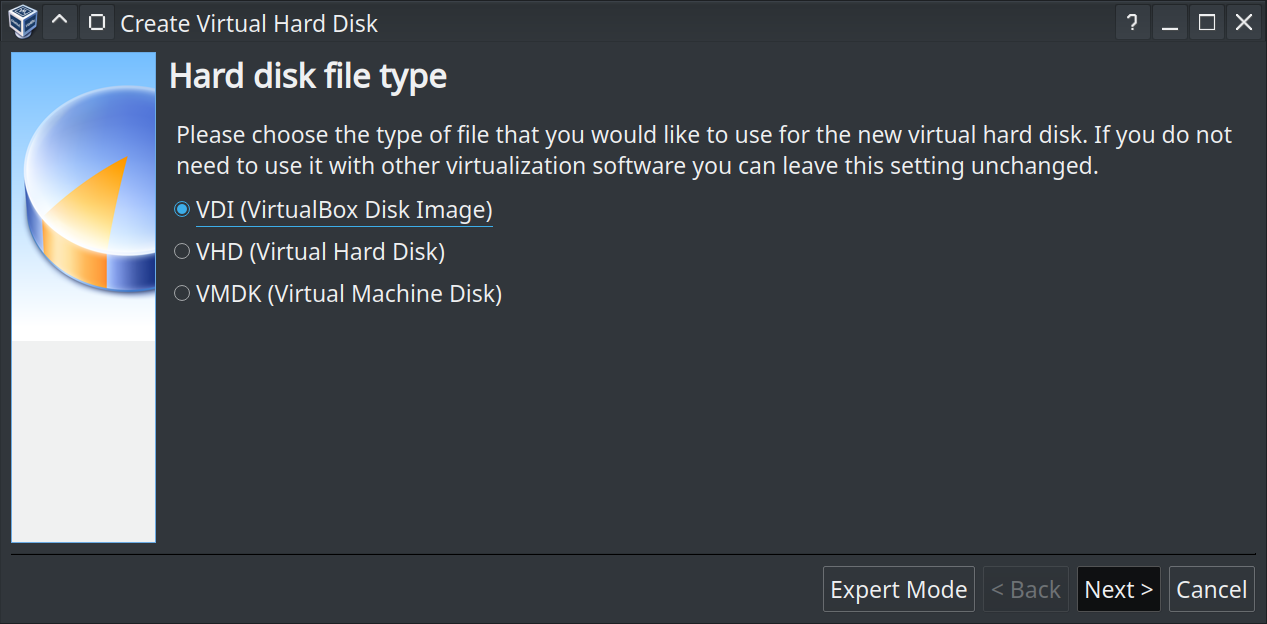
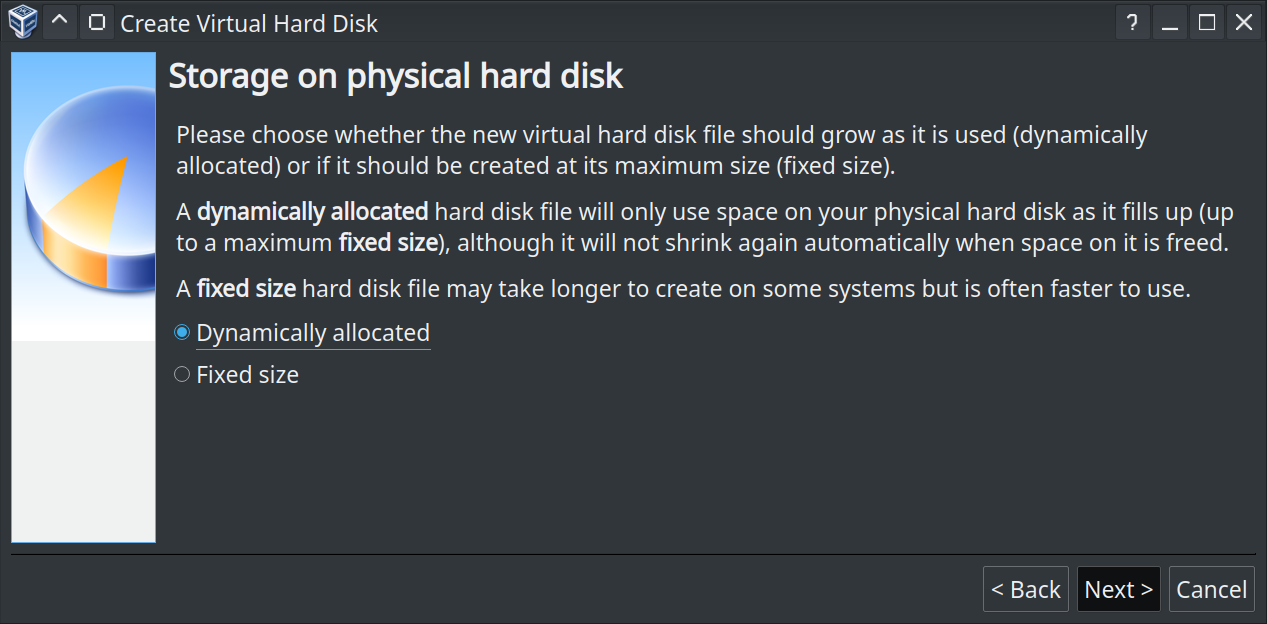
Selecting Dynamic Storage is perfect for what we need.
Boost the hard drive size to 20GB.
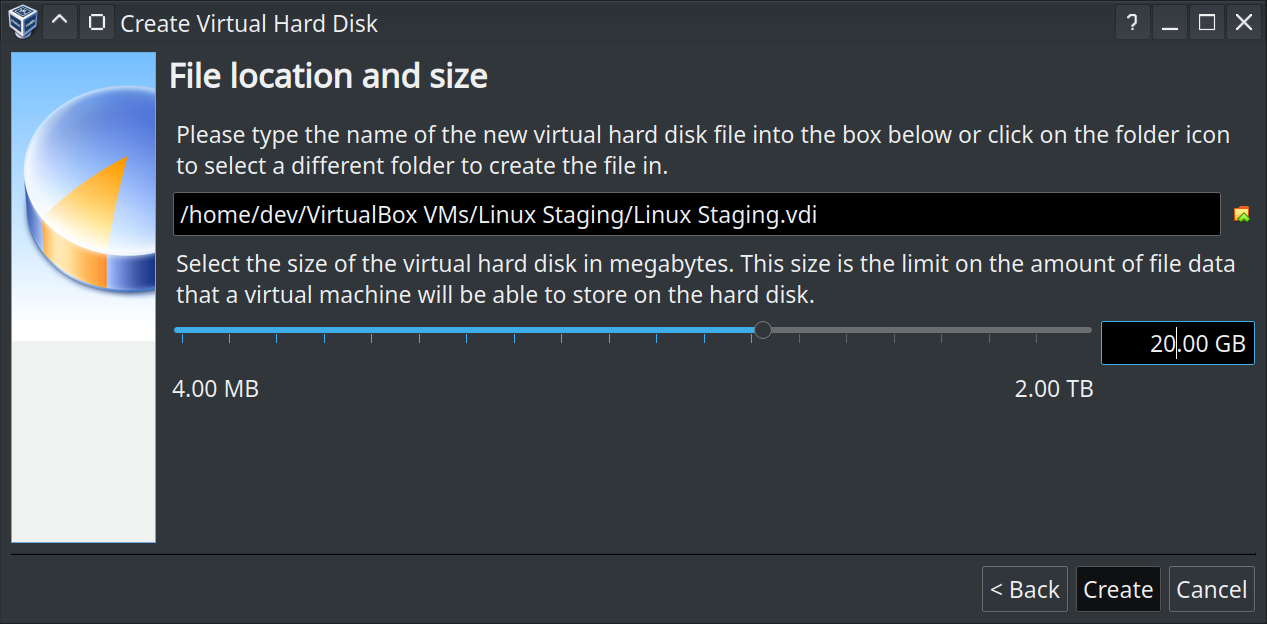
Click the Create Button and you will be returned to see this:
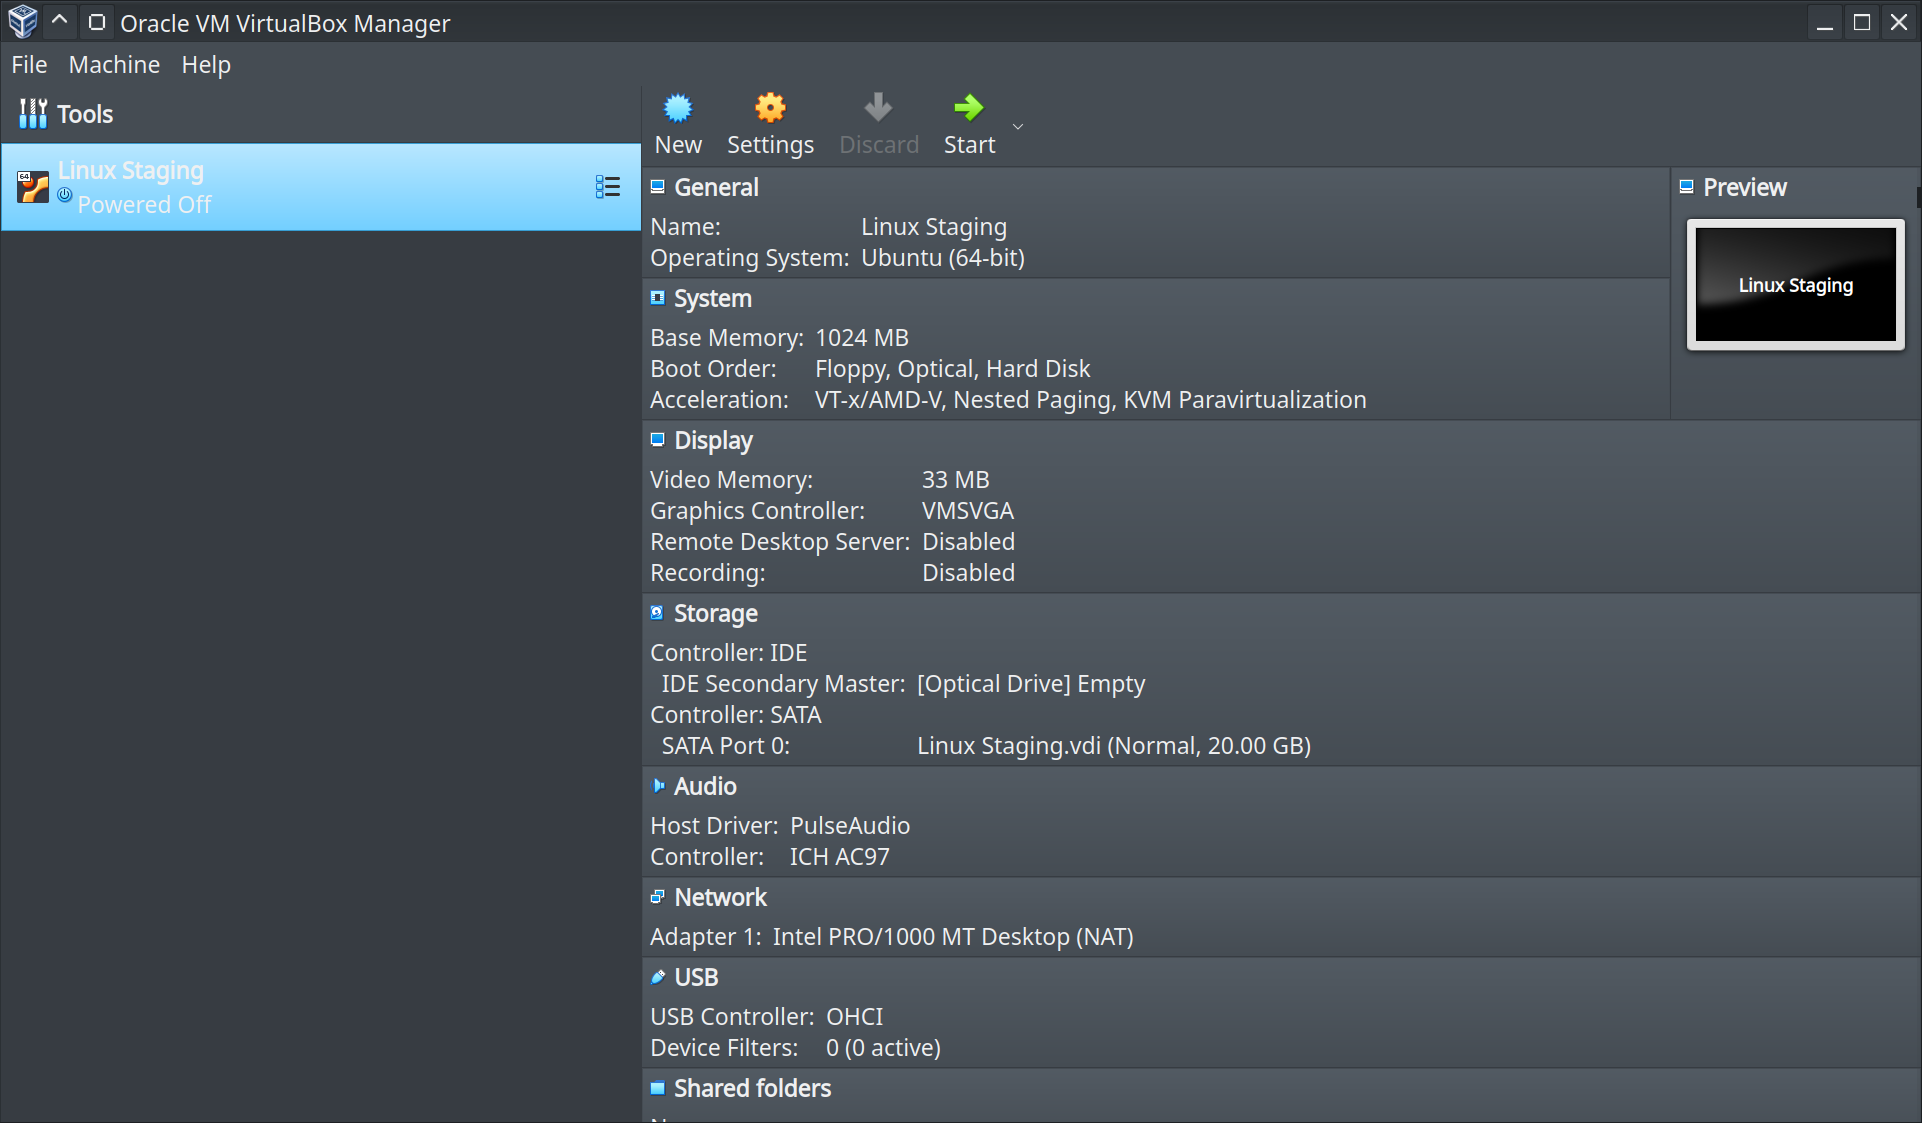
Now, we'll assign our downloaded Linux Image to our virtual machine so we can do the OS installation.

On the left list, click Storage, and then click Empty underneath Controller: IDE.
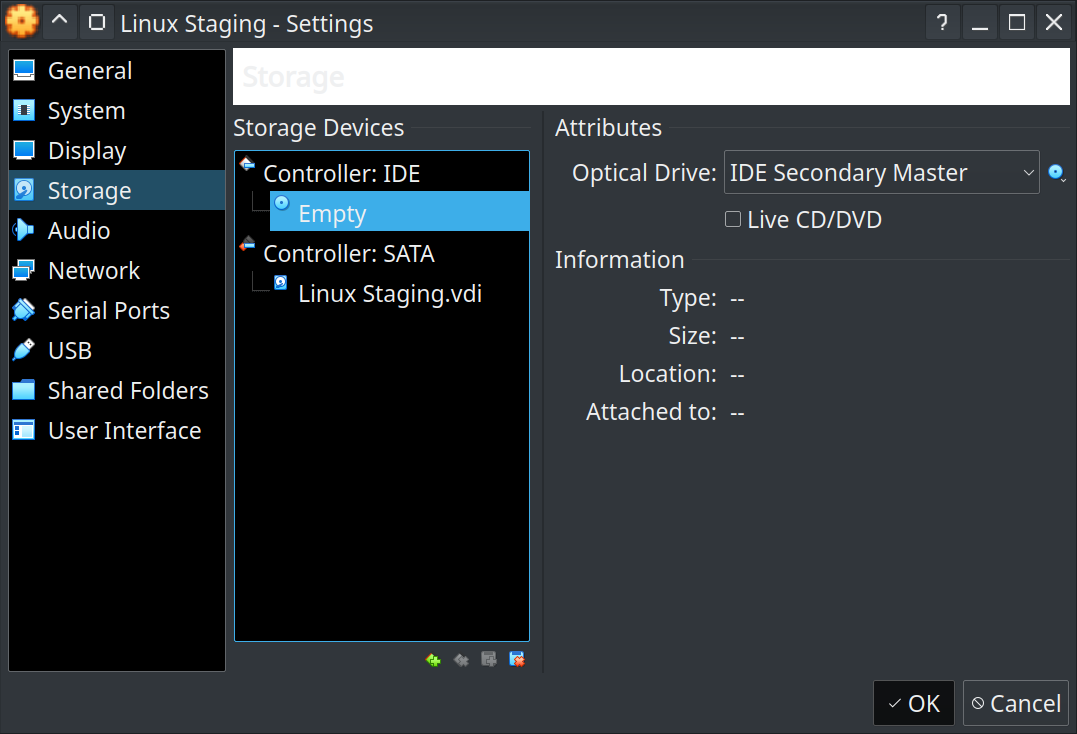
Click the small blue icon of a CD and select Choose a disk file... option from the list.

Navigate to your Downloads and find the file, ubuntu-20.04.1-live-server-amd64.iso. Once done, your storage settings should look something like this:
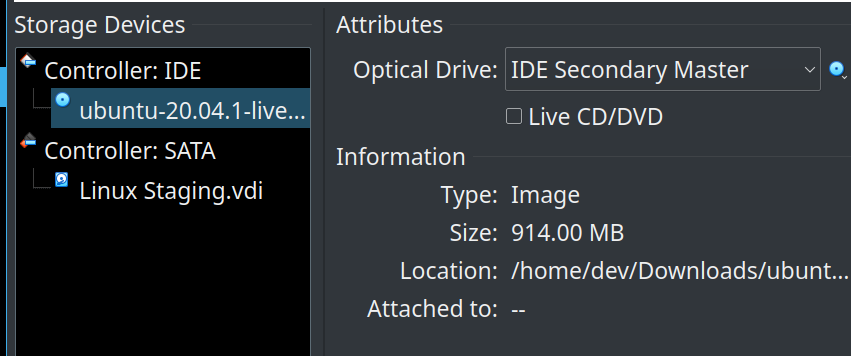
After selecting your storage settings, navigate to Network and select Attached To: Bridged Adapter.
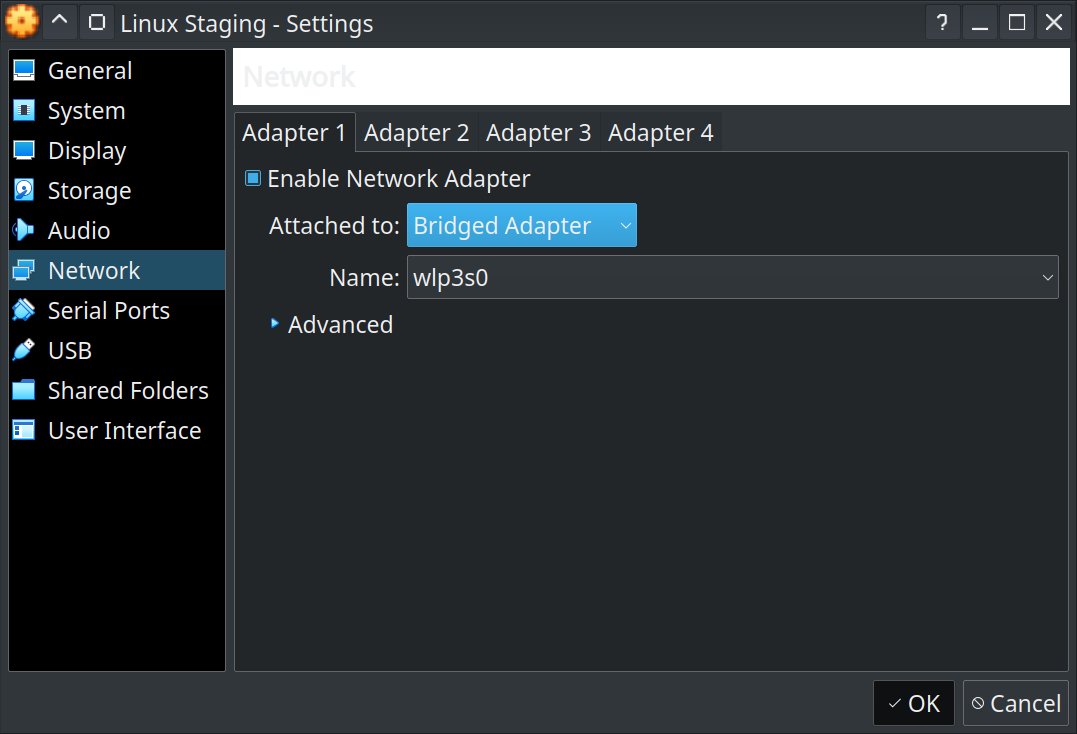
You might need to adjust the Name: setting depending on whether you're hooked up via WiFi or Ethernet.
Click OK to go back to your main VirtualBox screen.
Starting and Installing Your Virtual Machine
Click Start to fire up the VM.

A new window will appear that shows Ubuntu booting up.
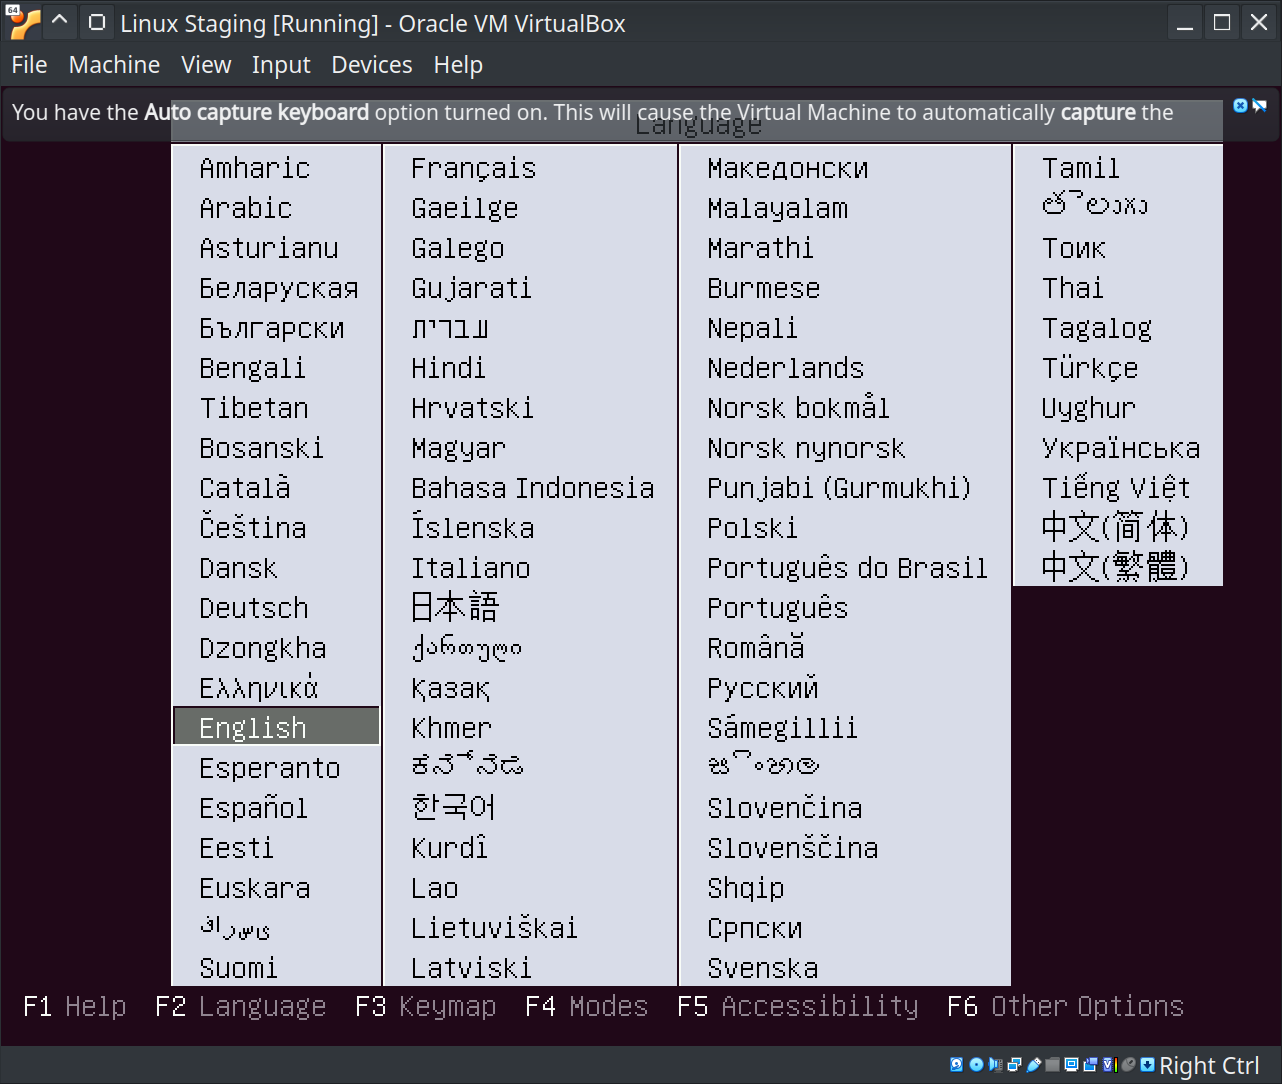
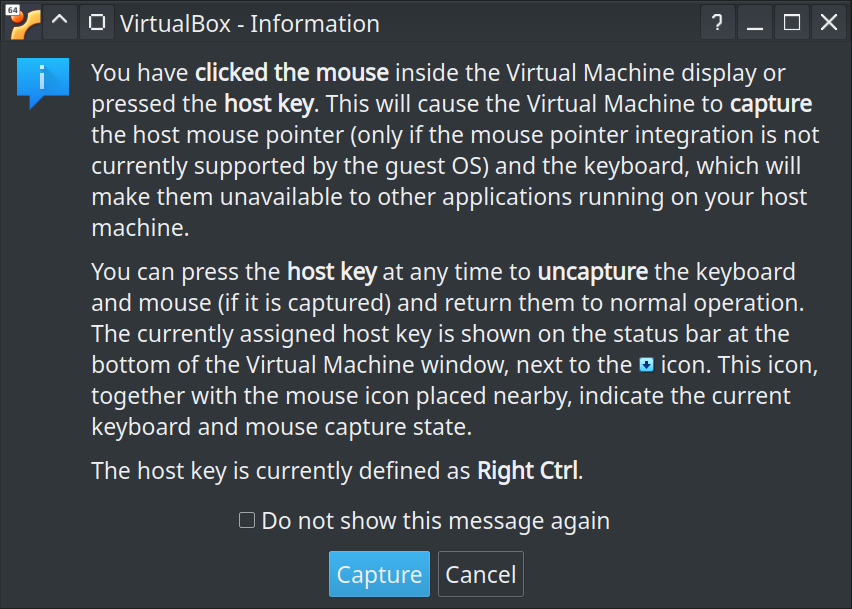
Click into the virtual machine window. You will get the following message. Pay attention to what it says, then click capture.
Eventually, you'll be able to move the mouse in and out of the window...
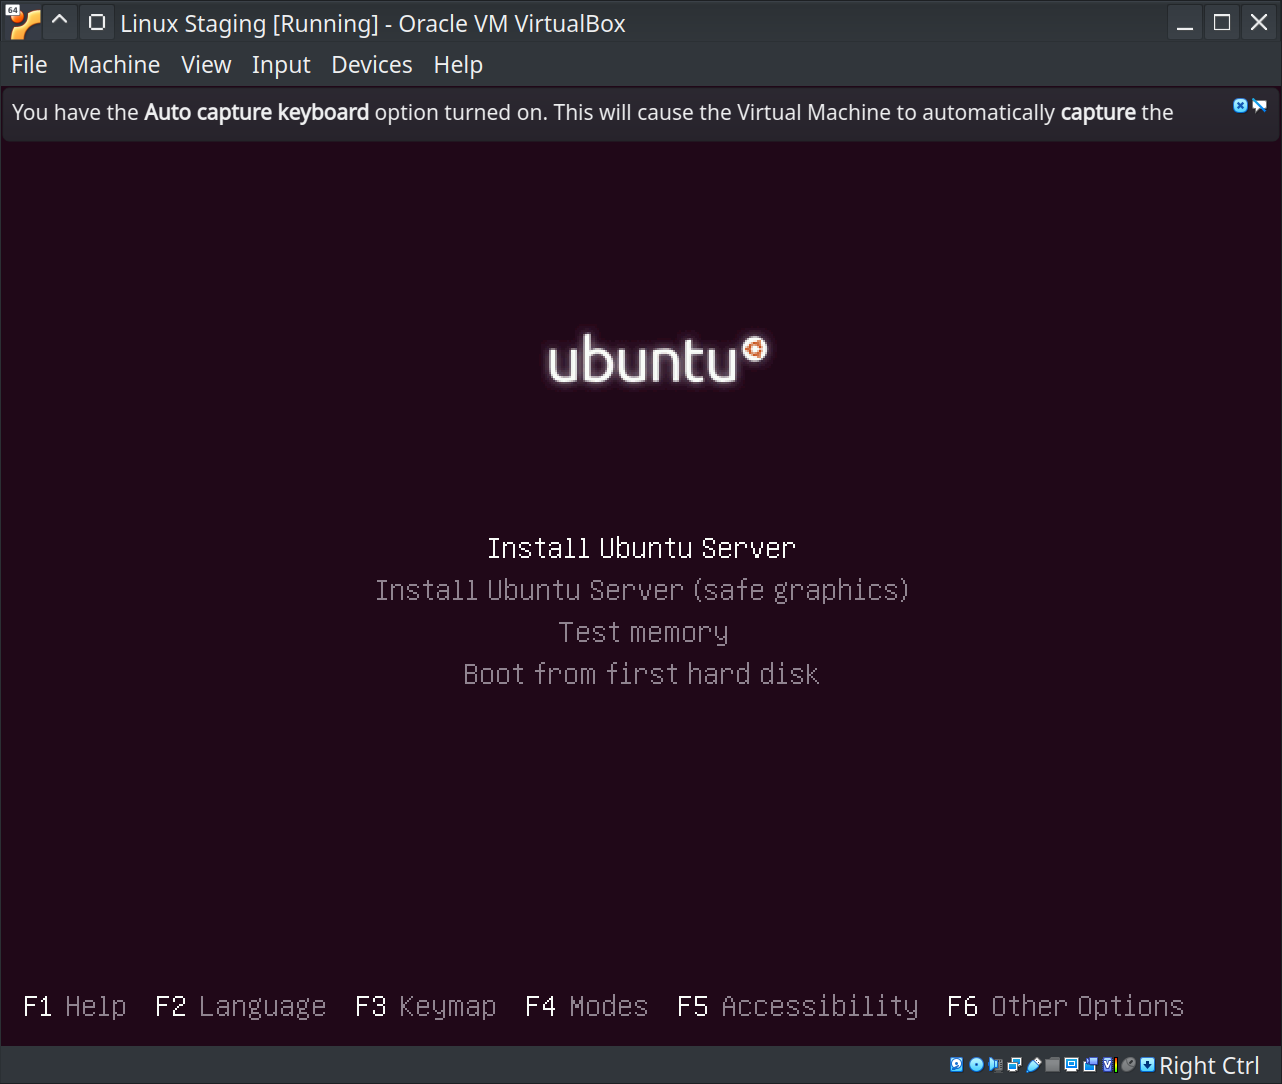
Select your language from the menu and then select Install Ubuntu Server
There will be a lot of white text scrolling in the window. Be patient until that is all done.
You will get another language selection menu. After that, just follow the installation instructions.
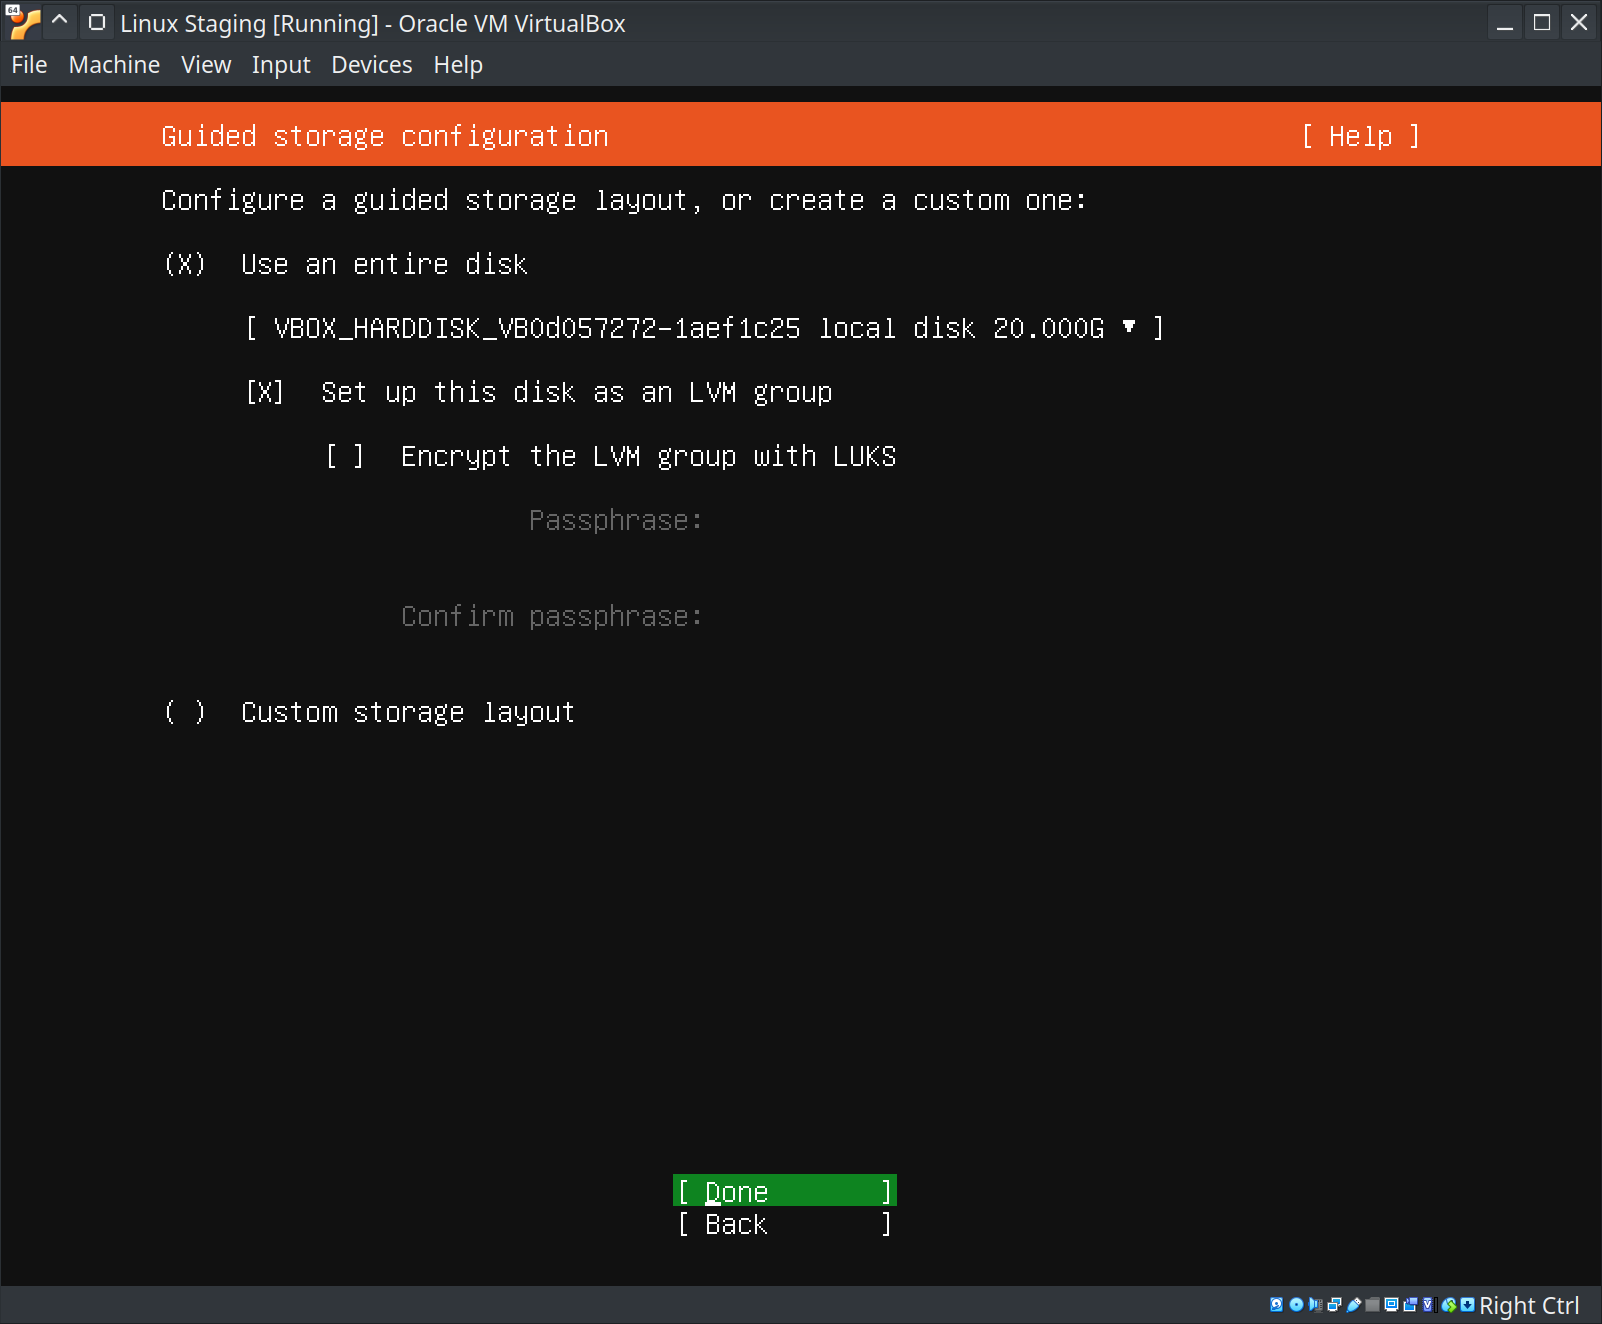
When you come to the storage configuration screen, you can use the defaults. Go ahead and use your down arrow key to move down to Done.
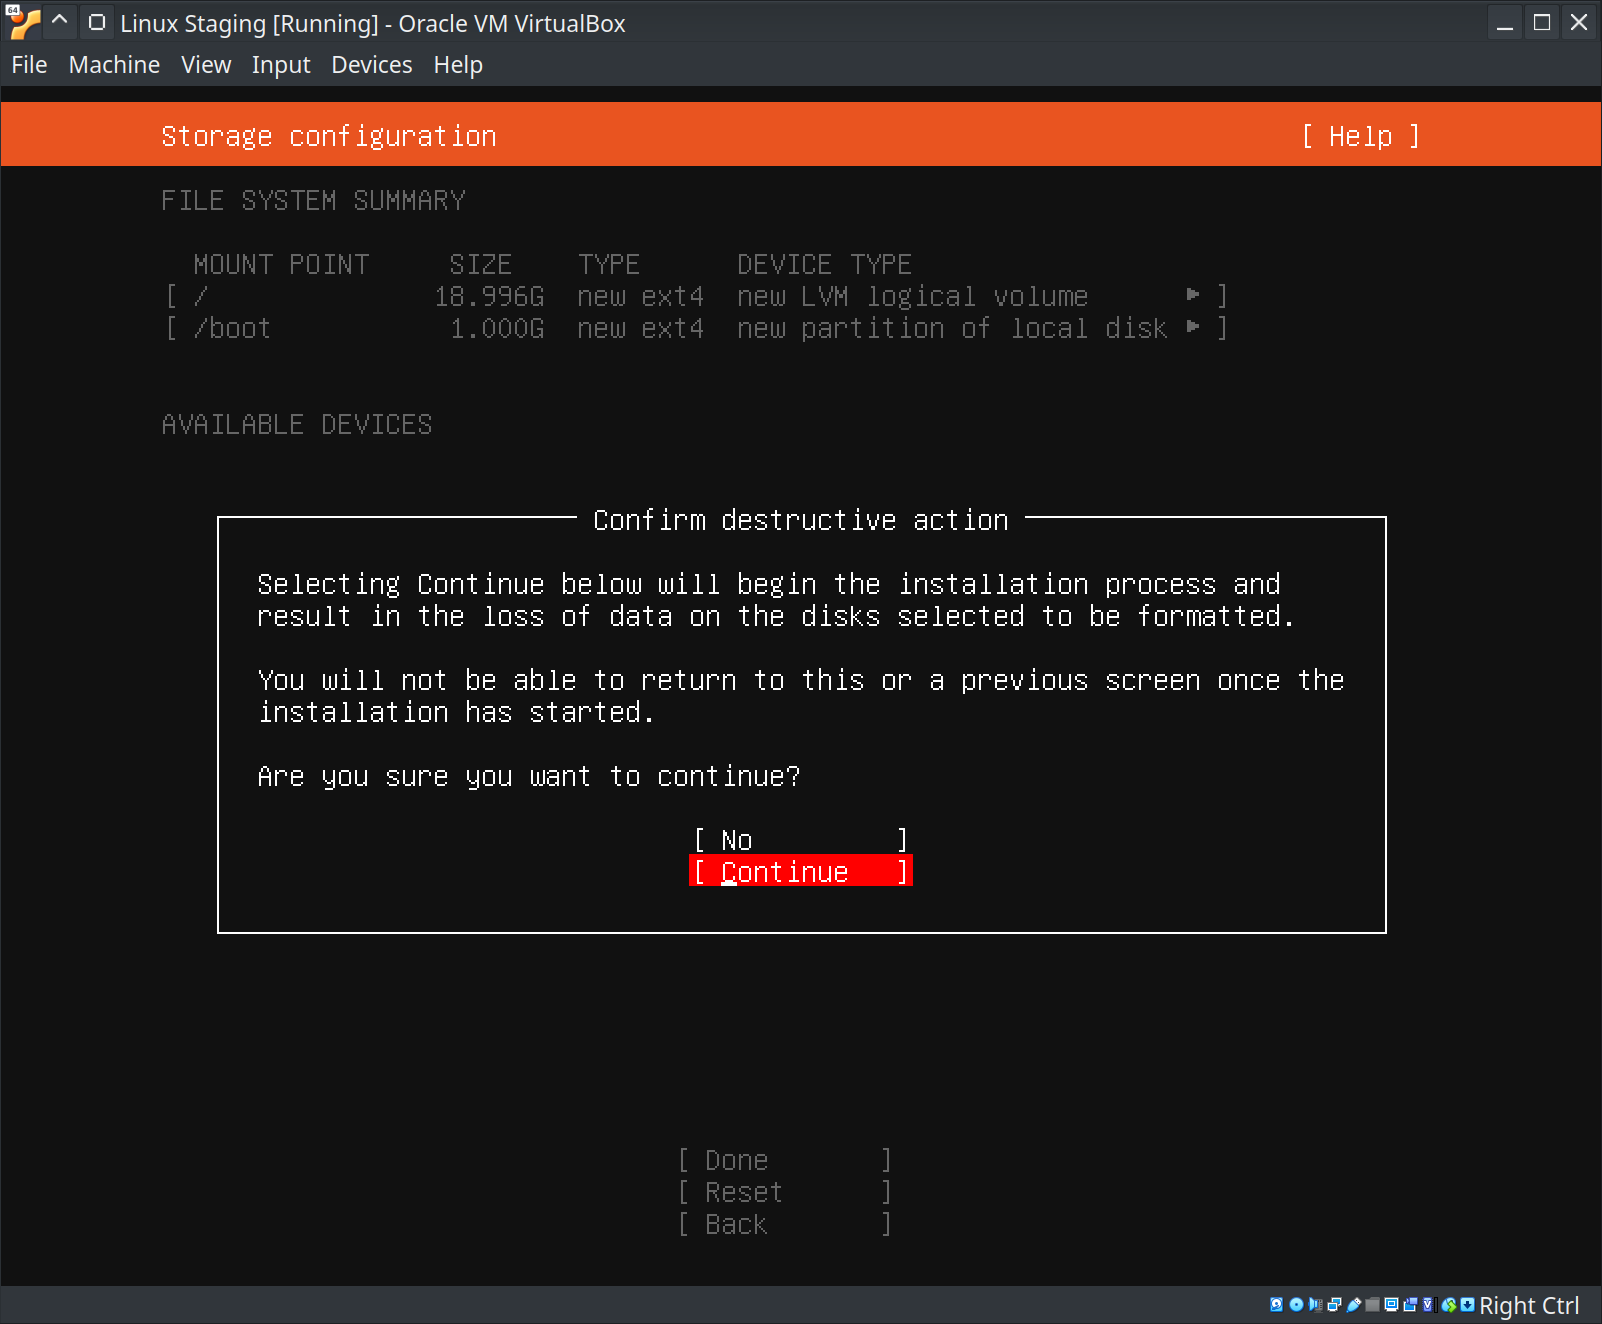
Go ahead and select Continue when you get to this point. This is basically just saying that you are about to format the virtual machine drive.
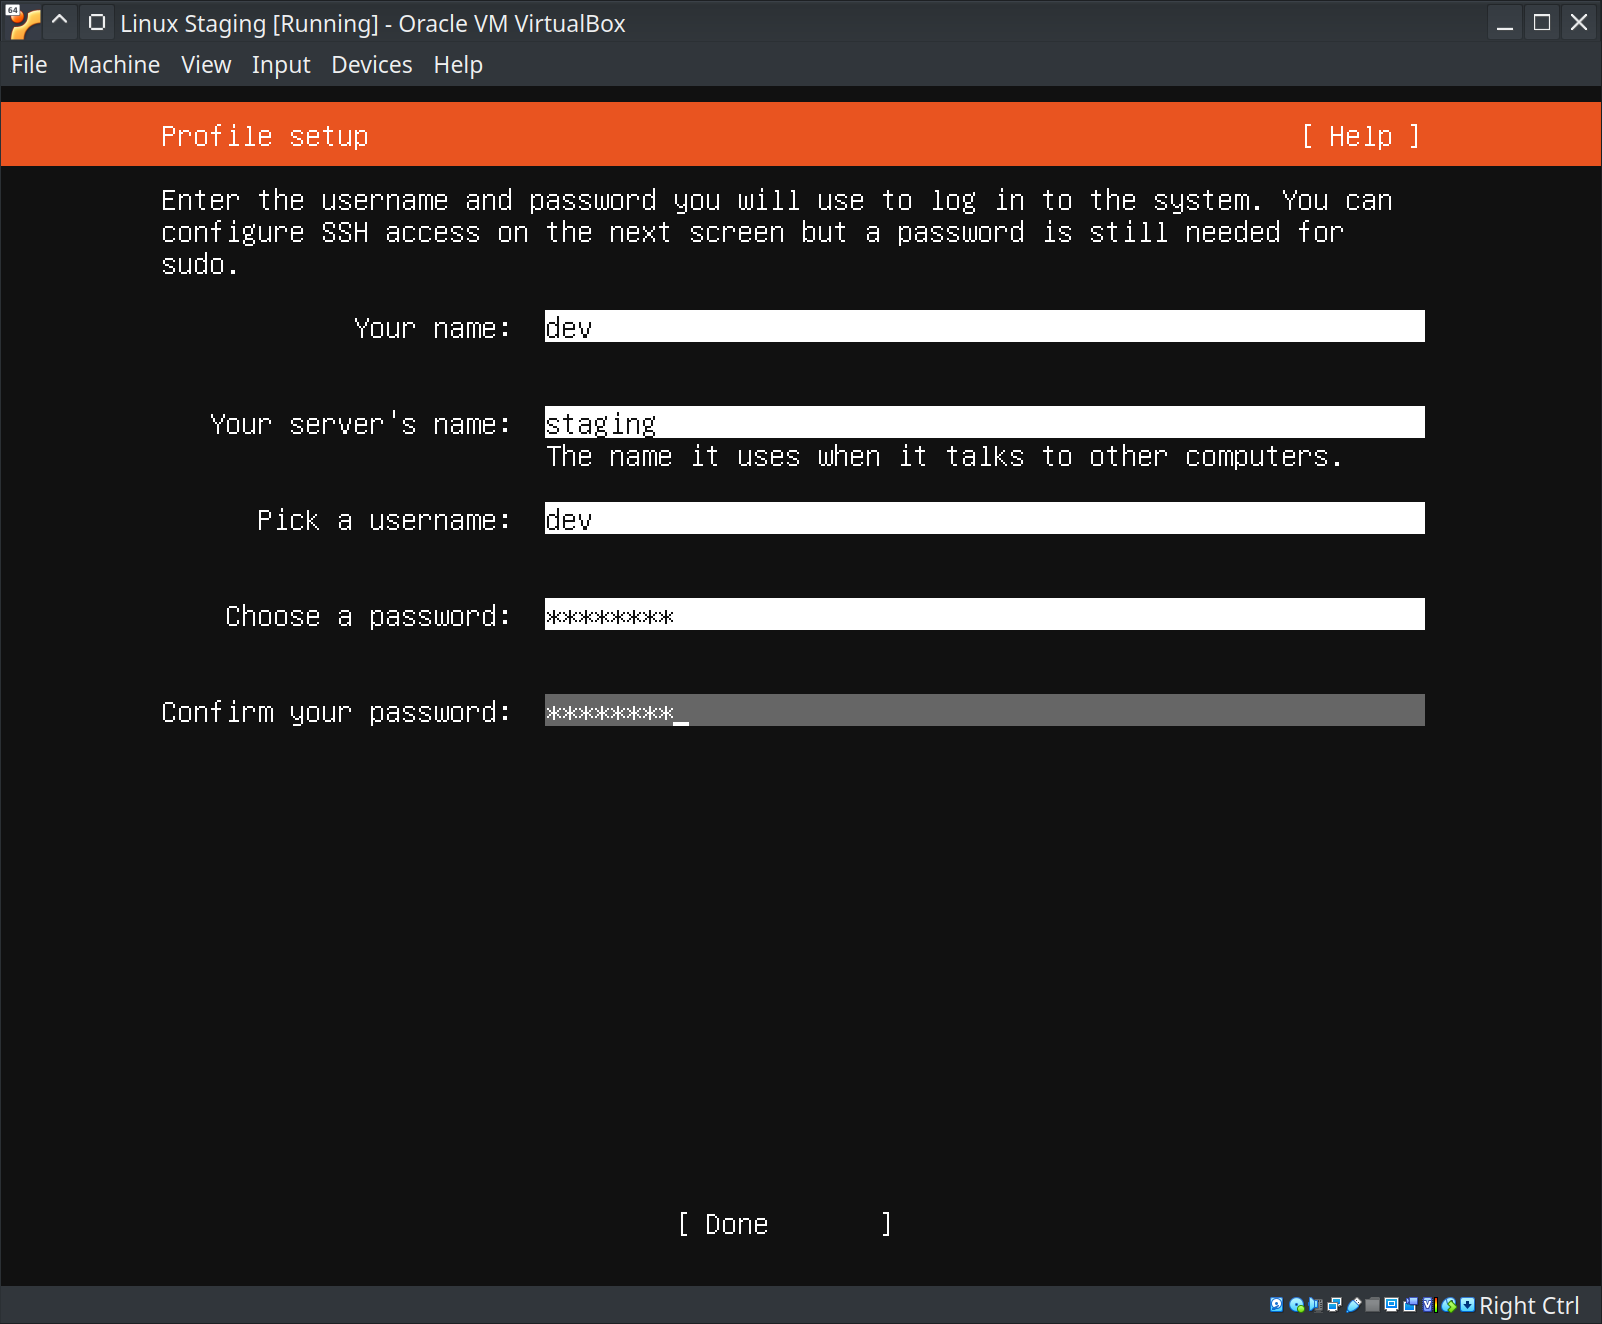
To make things easy in future lessons, go ahead and fill in your information just like it is here while choosing a password of your liking.
Use your spacebar to select [X] Install OpenSSH server
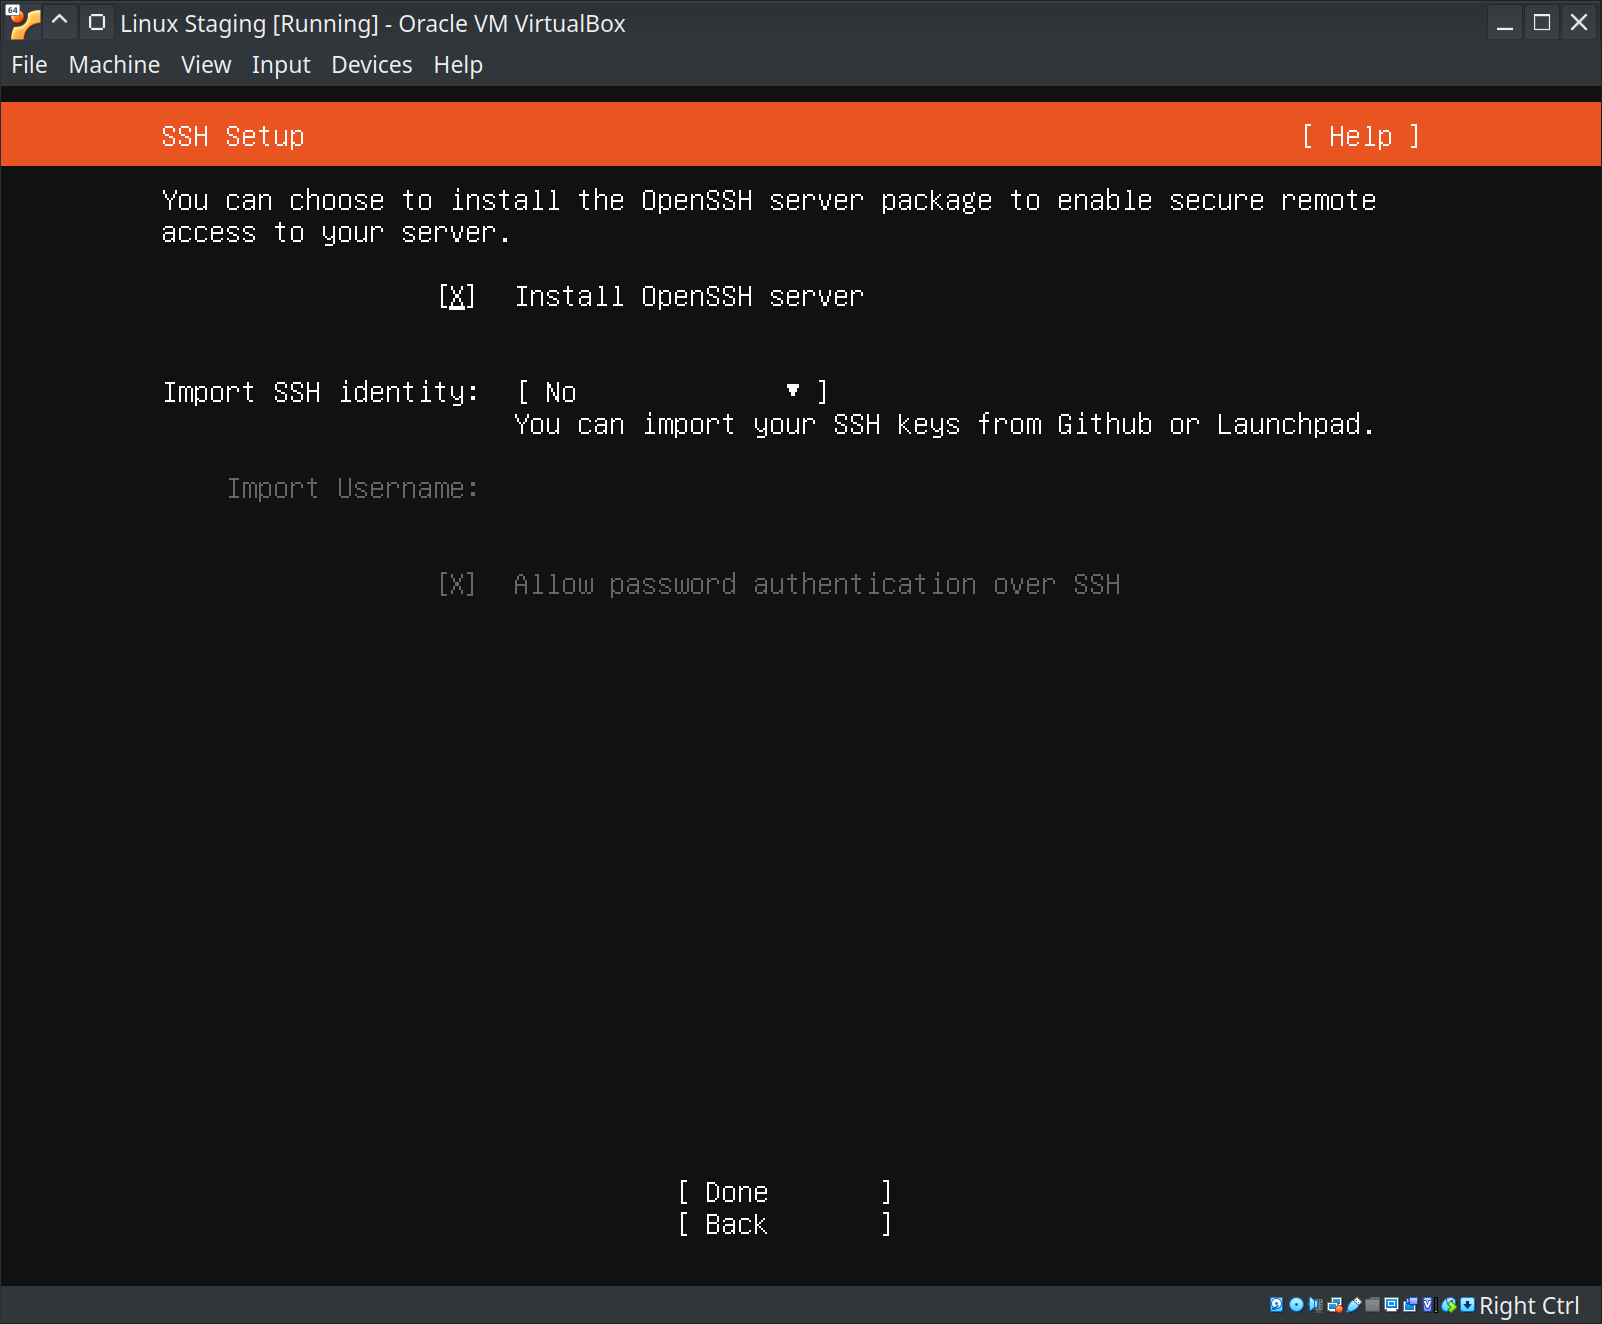
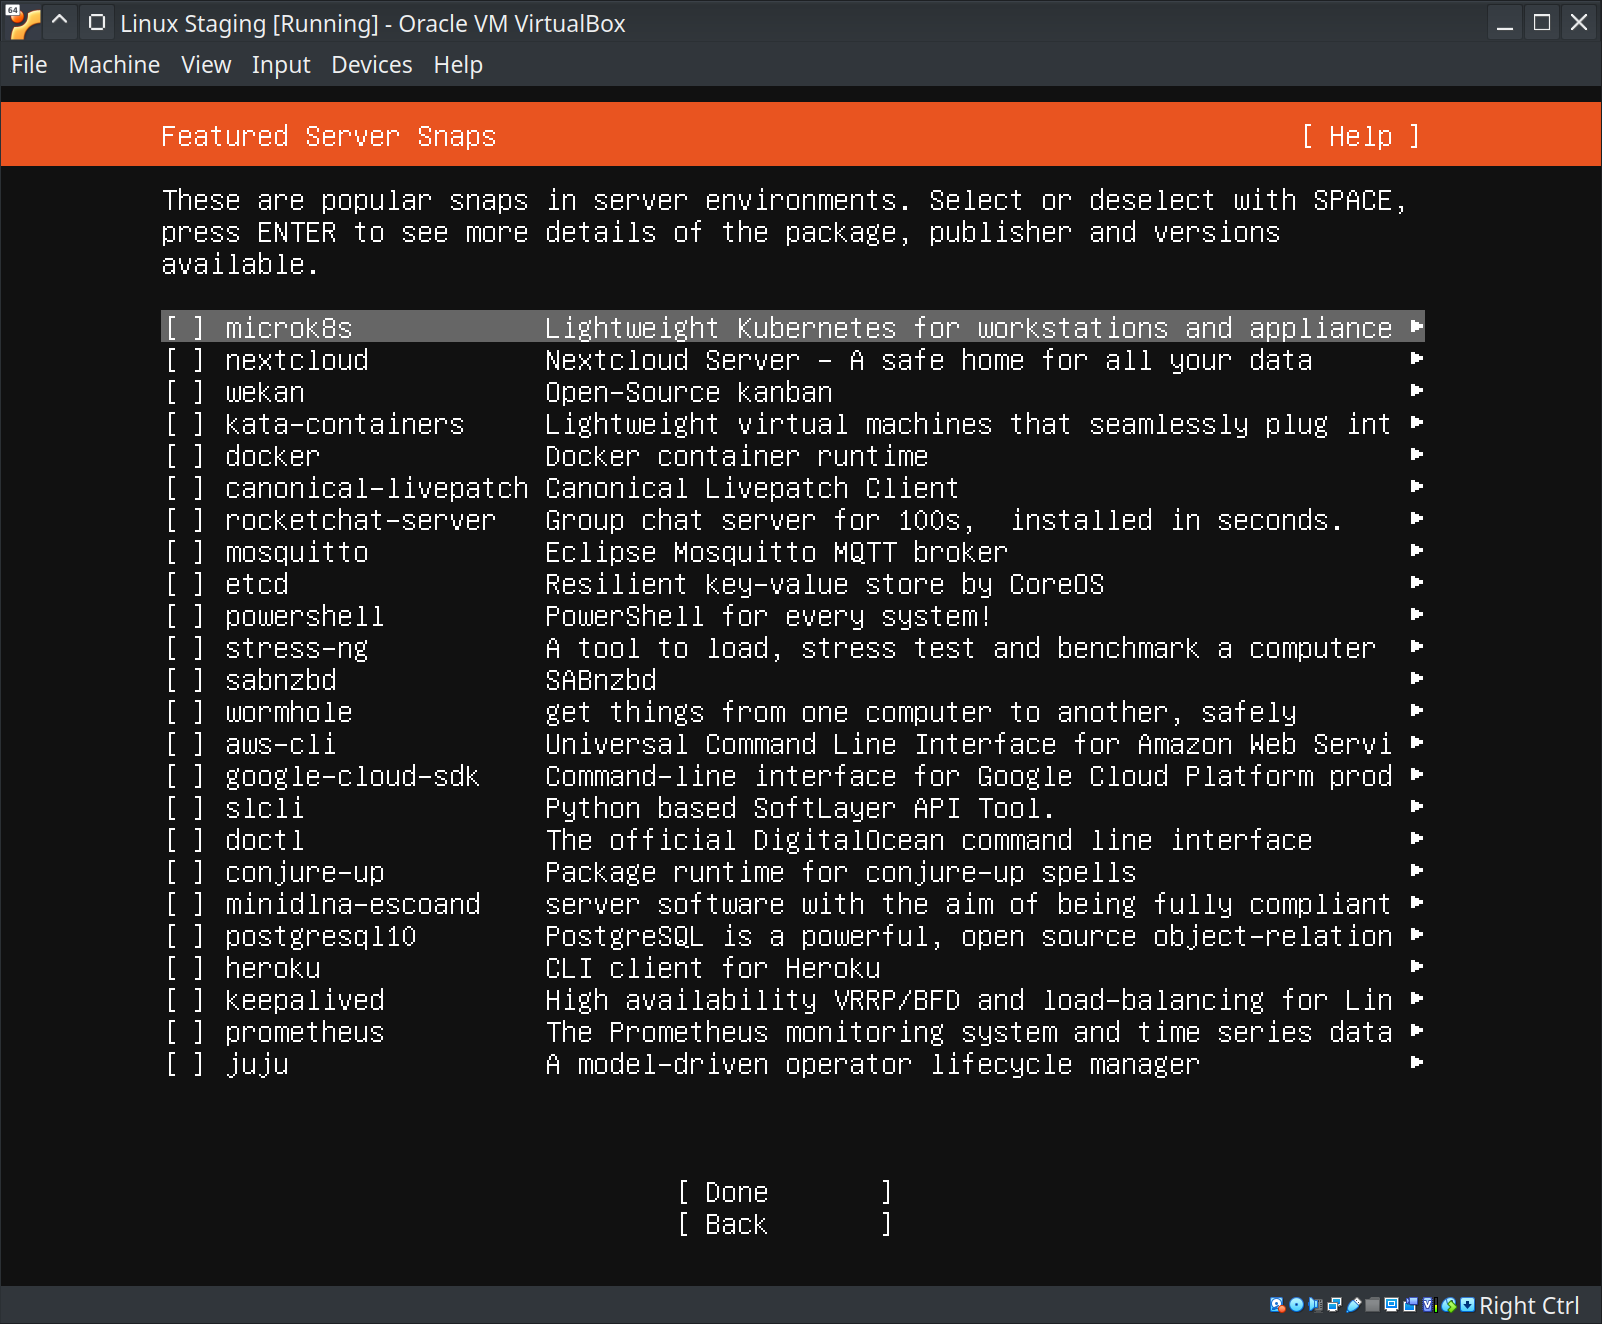
You can skip any of these selections. Use your tab key to move down to Done.
The OS installation will now be completed.
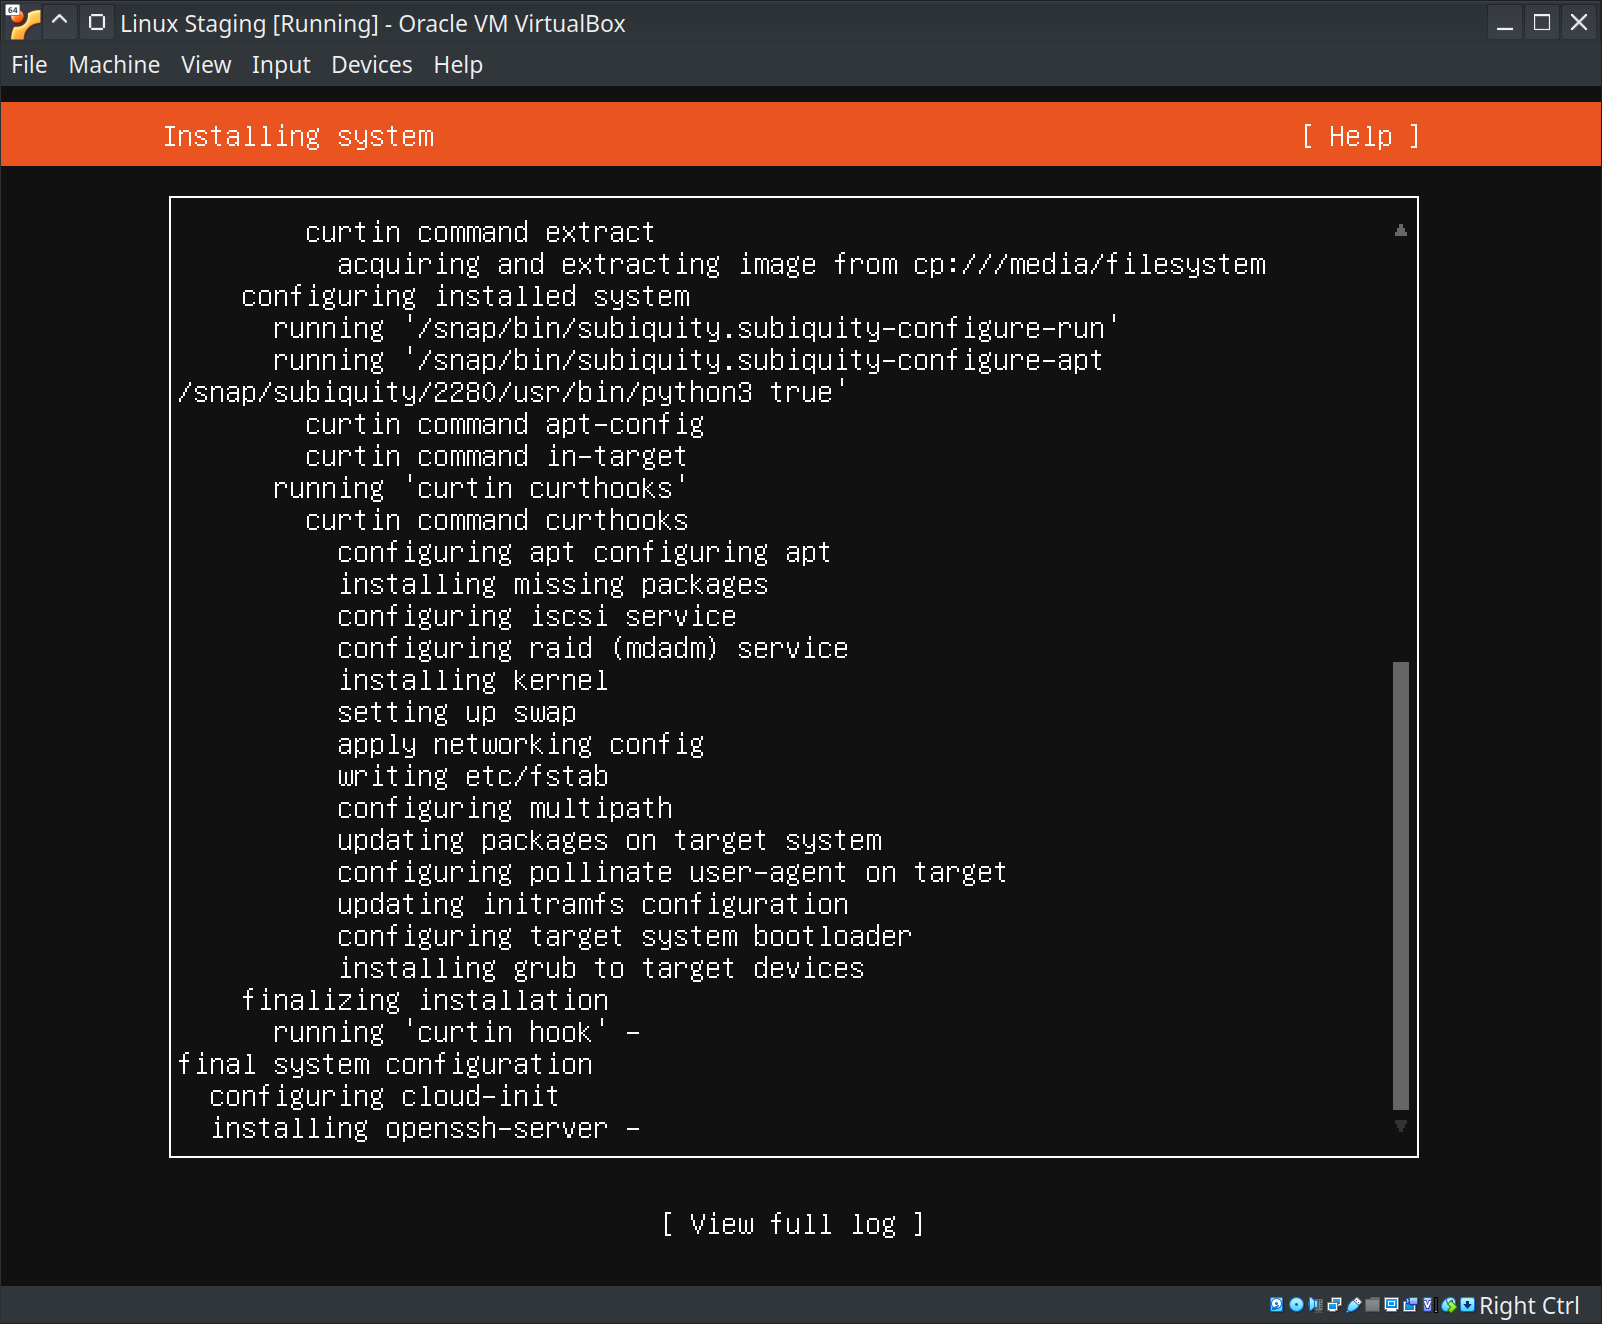
Allow it to do a full update. This might take a little while.

When it's done, Reboot Now!
Logging Into Your Virtual Machine For The First Time
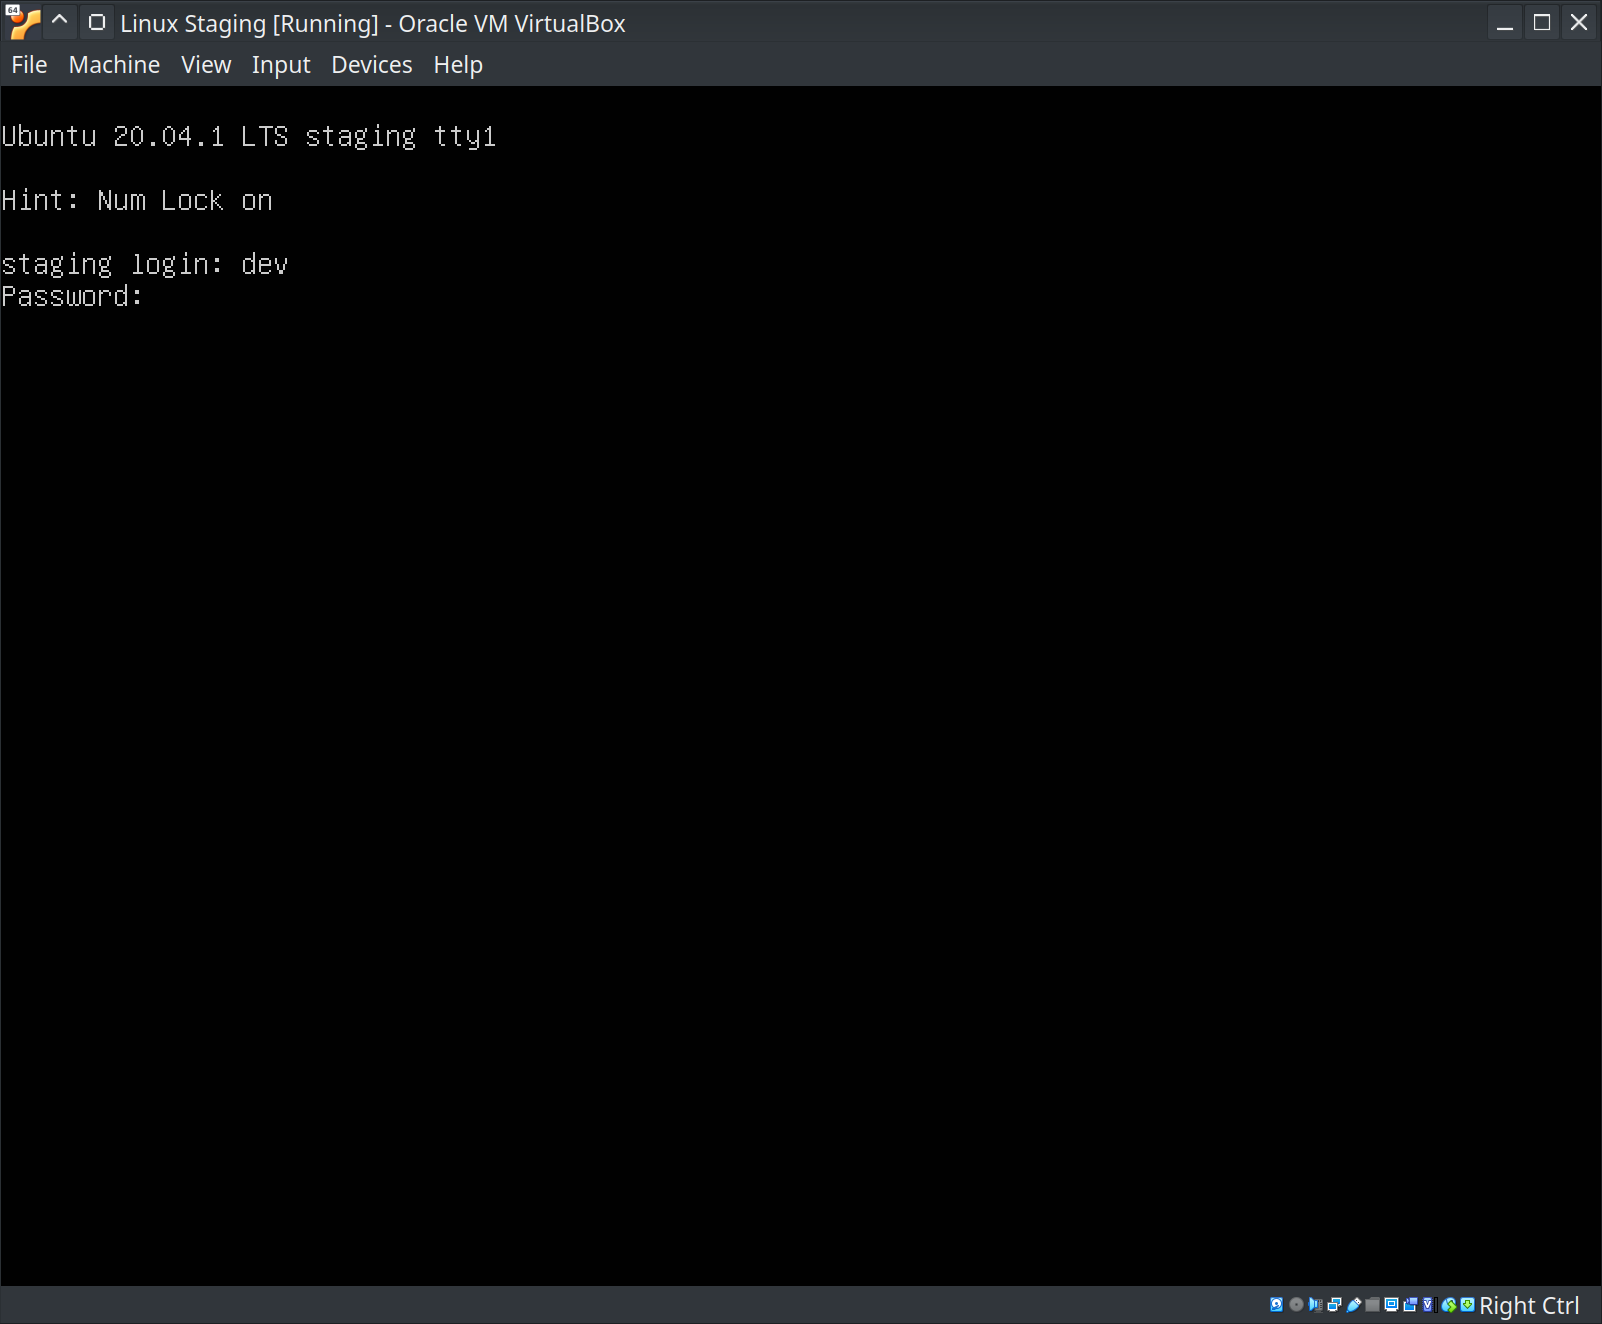
When you see this screen, type "dev" and press Enter. Then type your password and press Enter.
You should then be logged in and ready to type commands.
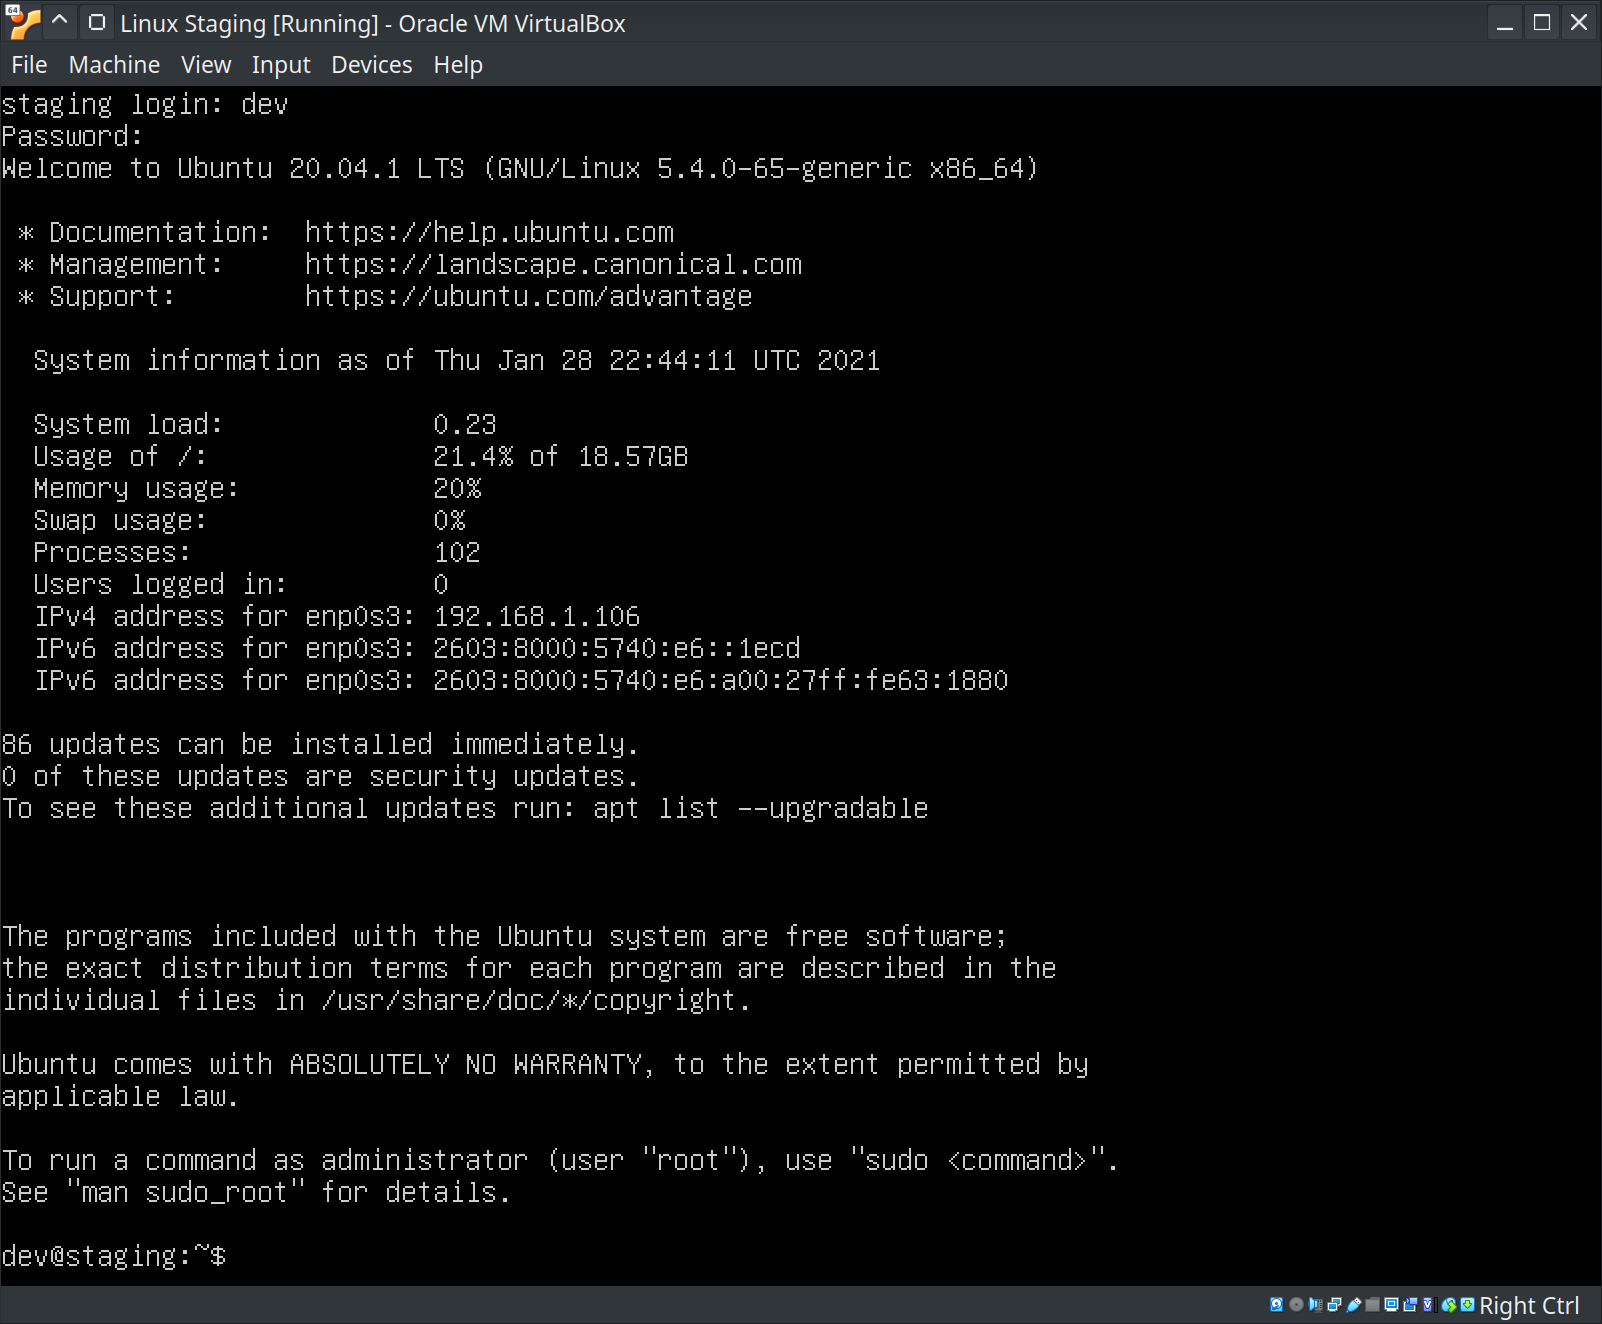
The first thing you should type is:
ip addr | grep "inet"
inet 127.0.0.1/8 scope host lo
inet6 ::1/128 scope host
inet 192.168.1.111/24 brd 192.168.1.255 scope global dynamic noprefixroute wlp3s0
inet6 2603:8000:5740:e6::1009/128 scope global dynamic noprefixroute
inet6 2603:8000:5740:e6:2408:b822:ed75:b3d5/64 scope global temporary dynamic
inet6 2603:8000:5740:e6:1cce:dd5a:6829:2e3d/64 scope global dynamic mngtmpaddr noprefixroute
inet6 fe80::b1b5:5886:7c4b:5ff/64 scope link noprefixroute
inet 172.17.0.1/16 brd 172.17.255.255 scope global docker0
This shows your network configuration. We specifically want your ipv4 address on your local network. On mine, it's inet 192.168.1.111/24
From your local terminal (Not on the virtual machine), you can run:
ssh [email protected]
The authenticity of host '192.168.1.111 (192.168.1.111)' can't be established.
ECDSA key fingerprint is SHA256:PoBHqSbjGF/qv3E+Wugkh+RyBuMwLMzkWmMLIMKHmrE.
Are you sure you want to continue connecting (yes/no/[fingerprint])?
Type yes and press Enter. You will then see:
Warning: Permanently added '192.168.1.106' (ECDSA) to the list of known hosts.
[email protected]'s password:
Type your password and you should be logged into your virtual machine via ssh.
Type exit to log out.
Now let's try:
ssh dev@stagingDepending on your router, it might allow you to do this. If you get an error, you'll have to setup your /etc/hosts file manually.
Adding Your SSH Key To Your Virtual Machine
Remember the ssh keys you setup earlier? Let's install your public key to this virtual machine.
First, log out of your VM by typing exit and pressing Enter.
Then, use:
ssh dev@staging 'mkdir -p ~/.ssh && cat >> ~/.ssh/authorized_keys' < ~/.ssh/staging.pub
dev@staging's password:
Once this command is run successfully, it will return you straight back to your command line, showing nothing.
Now we can try logging in again:
ssh dev@stagingThis time you should be logged into staging right away with no password.
Success!